Electrometer build instructions
12/Jun 2017

Preface to the tutorial: This tutorial is written in such a way that beginners to DIY electronics can follow along; more experienced builders may not need many of the steps. We’d be happy to discuss rationale for component selection and other design choices over e-mail. Also e-mail if you’d like us to send you printed circuit boards, as we have a few extras we can give away.
What you will need:
- Box enclosure (Hammond 1590A)
- Box enclosure (Hammond 1590Q)
- 3 printed circuit boards (see this post)
- Reasonably thin wire
- Soldering iron
- Solder
- Shunt Jumpers
- 3/8” 6⁄32 threaded (both sides) standoffs (x4)
- 1/4” 6⁄32 threaded socket head screws (x12)
- 1/2” 4⁄40 threaded (both sides) standoffs (x2)
- 1/2” 4⁄40 threaded hex screws (x4)
- 1/8” 2⁄56 threaded hex screws (x12)
- Small-pattern 2⁄56 hex nuts (x12)
Electrometer Circuit:
- BNC Connector
- BNC 2-Hole standoff (3D-printed)
- JP2 - JP8 - M jumper pins
- JP1 - F jumper pins
- Integrated Circuits
- IC1 - INA116
- IC2 - AMP02
- IC3 - OP07D
- IC4 - MAX6225
- Resistors
- R1, R2, R11 - 10 KΩ
- R3 - 505 Ω
- R4 - 20 KΩ (Trim)
- R5 - 5.555 KΩ
- R6 - 50 Ω
- R7 - 5 Ω
- R8 - 500 Ω (SM)
- R9, R10 - 50 KΩ
- R12 - 1 GΩ
- R13 - 100 MΩ
- R14 - 10 MΩ
- R15 - 910 KΩ
- R - 100 KΩ
- Capacitors (C0G/NP0 for C1-C8, film for C9-C12)
- C9 - 1.5 nF
- C11 - 15 nF
- C12 - 0.15 uF
- C10 - 1.5 uF
- C1 - C8 - 0.1 uF (SM)
Voltage Regulator / Battery Check:
- X1 - RJ45 jack
- X2 - BNC Connector
- JP1 - 3 F jumpers
- JP2 - 2 M jumpers
- LED1, LED2 - LED
- Resistors
- R11, R12 - 6.8 KΩ
- R5, R6, R8, R9 - 330 KΩ
- R1, R2 - 50 KΩ (Trim)
- R7, R10 - 93 KΩ
- Capacitors
- C1, C2, C5, C6 - 0.1 uF (SM) C0G/NP0
- Integrated Circuits
- IC5, IC7 - TLV3401
- IC2 - LM7912
- IC1 - LM7812
- IC3, IC4 - LM285
Switch and Connection for Batteries:
- RJ45 jack
- 9V battery holders (x4)
- 9V batteries (x4)
- On/Off switch
Power Board
The boards used for this project are two sided. For the ease of the tutorial, we will say that Figure 1 is the front of the board.
 As for getting started though, we will start on the back side.

When putting circuits together, it is generally advisable to start with the hardest-to-install component, in this case, that would be the 0.1 uF surface mount (SM) capacitors. They are small, finicky to apply, and if other components are already installed, very easy to cause shorts with.
There are four to install on this board, in positions C1, C2, C5, and C6. Try holding the capacitor with a pair of tweezers and allow the solder to cool fully before removing them.

Next up, install the power adaptor, by soldering all 12 pins, including the two larger ones on the ends.

Install the BNC connector in the same way as before, soldering all 5 pins. Because of how thick the metal is, this may take a while. Note: don’t actually use your thumb to hold the piece, you will burn yourself.

Continue with the installation of the larger parts, such as the trimmers and integrated circuits. R1 and R2 are where the 50KΩ trimmers go IC1 is the LM7812 positive voltage regulator, IC2 is the LM7912 negative voltage regulator, IC3 and IC4 are the LM285 voltage references, IC5 and IC7 are the TLV34021 op-amps.

LED1 and LED2 are the light emitting diodes - be sure to install them in the correct way - on LED1, the longer leg should be closer to IC7, and on LED2, the shorter leg should be closer to IC5.
After the installation of the bigger pieces comes the last bit, the installation of the resistors. R5, R6, R8, and R9 are 330 KΩ R7 and R10 are 93 KΩ R11 and R12 are 6.8 KΩ

Finally, add the three female jumpers at JP1 and the two male jumpers at JP2. These will be used to connect the power board to the electrometer board.

The completed board:

The Electrometer Board
Like the power board, the electrometer board is two sided. We’ll call this side the front of the board.

And much like the power board, we’ll start with the back of the electrometer board.

Again, we’ll start with the SM components, the eight 0.1 uF SM capacitors (C1 - C8), and the SM resistor. The method for installing the 500 Ω SM resistor is no different than the capacitor: hold it in place with tweezers and allow the solder to cool before letting go.

Install the various large components (but holding off on IC1 for the moment): IC2 - AMP02 Instrumental Amplifier IC3 - OP07D Op-Amp IC4 - MAX6225 Voltage Reference C9 - 1.5 nF capacitor C10 - 1.5 uF capacitor C11 - 15 nF capacitor C12 - 0.15 uF capacitor
Also install R4, the 20 KΩ trimmer on the back of the board.

|  |
Install the various resistors (hold on to the resistor labelled as R for now). To keep myself from installing a wrong resistor, I started off by writing all the resistors and their values down as seen below.

|  |
Next up is the installation of the male jumper crosses. Break them into 3 sets of 3, and 6 singletons. Install the sets of 3.

To install the singletons, utilize the female jumpers. Place down one of the male jumpers, and lock it to the center of the set of 3 with a 2-female jumper. Once you’ve done this, the pin should be held in place well enough that you can solder it in. Do this for all the remaining pins.

Also install a set of 2 female jumpers at JP1, and 3 male jumpers at JP2 to allow the electrometer board to connect to the power board you made.

Now we’ll return to IC1, the INA116. First thing you want to do is to bend the V+IN pin (pin 6) up so it’s slightly above parallel to the IC. Install the board, without soldering the bent pin.
-of-INA116-out-for-eventual-air-wiring.jpg)
Grab the 100 KΩ resistor, R, and set it in as seen below. Solder the back side of the resistor as close to the board as you can get it.

Bend the upper half of the resistor’s wire such that you can solder it to the bent pin of IC1. You don’t have to go below the pin, but I found it easier to solder when I did.

|  |
Next up is “air-wiring” the resistor to the BNC. Put the BNC and the BNC standoff together, using the BNC’s nut to keep the two together. You’ll want to shorten the wire, but this illustrates the point.

To get a good electrometer, you want as short of a connection between input and the shunt resistor (resistor R) as possible. This means you should have as little wire as is possible in this connection. Place the BNC standoff onto the board, and bend the wire around the BNC’s pin. Solder it on, and cut off the excess wire.

Putting it Together
To put your boards together, you’ll need: six 6⁄32 threaded 1/4” socket head screws, two 6⁄32 threaded 1/2” hex nut screws, and four 6⁄32 threaded (on both sides) 1/4” standoffs.

On the electrometer board, put the 1/2” screws through the BNC standoff, and connect them to a standoff. Use two of the 1/4” screws to connect the other two standoffs. Connect the boards with the jumpers.

|  |
Use the remaining four screws to connect the power board to the standoffs.

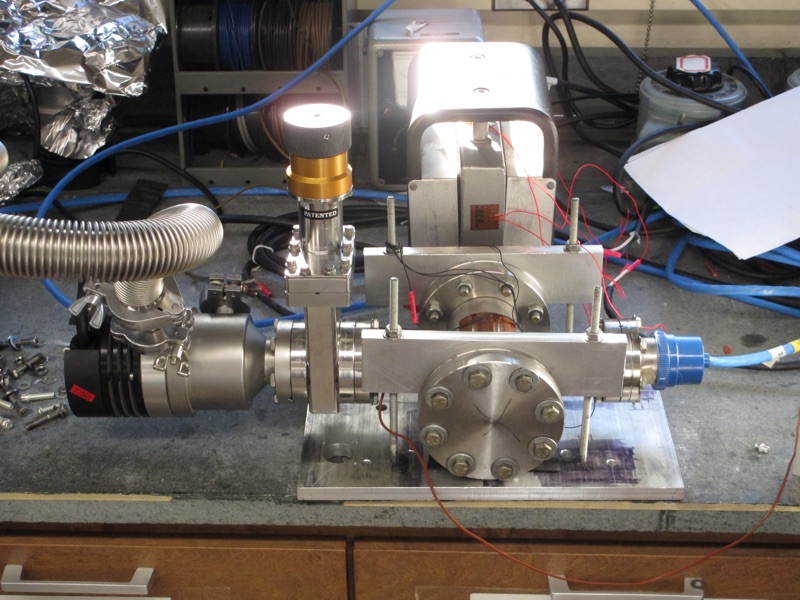
The Battery Box
Up next will require power tools. To isolate the preamplifier from ambient noise, it should be shielded in some way. The typical way to do this is with a box enclosure. The one we’ve linked is a perfect size for the preamplifier. However, it does need a BNC hole installed in it. Fortunately, there’s a measure of slop that can be used here. The electrometer board schematic is true-to-life sized, so an easy way to discern where to drill the hole is to print off the schematic and fold it in half, lengthwise, then fold the paper in the short direction right between the BNC standoff. Make a mark at the intersection of those creases, as seen below.

Make a mark on the box at that point by cutting through the paper, then use a 5⁄8 drill to make the preamp hole.

That’s it for the preamplifier! All that remains is the battery box. We’re going to install everything into the lid of the box, because this makes it easy to change out the batteries. First thing is to lay out the pieces in the way you’re going to attach them to the lid. Use a Sharpie to mark the positions of all the screw holes onto the board.

|  |
There are 16 holes that need to be drilled on the lid. The battery holders need 3⁄32” holes drilled The PCB’s standoffs need 1⁄8” holes drilled The switch needs a 1/4” hole drilled The RJ45 connector can be started with a 3⁄8” hole, and then the square hole can be formed using a nibbling tool We like using countersunk holes and flat-head socket-cap screws, but this is a matter of appearance only.

With that, it’s pretty straightforward - screw the battery holders into the lid, and put the PCB together.

|  |
Next, solder some wire to the battery terminals to connect them together. Make sure for each set of two batteries, one positive terminal is connected to one negative terminal. Finally, put the batteries in, and check the functionality of it. There should be a ±18 V supply when the box is turned on.

|  |
Completed preamplifier and battery supply: